
What is a Snipping Tool & How to Use it for Effortless Screenshots?

Capturing screenshots is an essential venture for both private and expert use. Whether you need to save essential facts, documents and trouble, or share something visually, the Snipping Tool makes the system short and problem-free. This integrated screenshot utility, available on Windows, permits users to seize specific regions of the screen with ease. Unlike conventional print-display strategies, the Snipping Tool offers more flexibility by letting you select, annotate, and shop screenshots in various formats.
In this manual, we’ll explore what the Snipping Tool is, the way it works, and why it’s a convenient preference for convenient screenshots. We’ll also contact on some related subjects that decorate your digital experience. For example, in case you’re troubleshooting and problem while taking a screenshot and come upon an inner server errors meaning, information the purpose allow you to resolve it. Similarly, if you’re operating with on-line file transfers, knowing what FTP is can be beneficial.
For Mac customers, an opportunity to use the Snipping Tool includes using shortcut keys. If you’re thinking approximately the Mac pc alt equal, we’ll cowl that too. Additionally, in case you need to take screenshots of apps jogging on a secured network, a VPN for packages can offer the necessary privateness and protection.
Read directly to discover how to use the Snipping Tool correctly and make your screenshot-taking revel in handy.
How to Run the Snipping Tool?
The Snipping Tool is a built-in screenshot utility in Windows that allows users to capture specific areas of the screen quickly and efficiently. Whether you need to take a snapshot of an error message, save important information, or share visual content, the Snipping Tool makes it easy. Here’s a step-by-step guide on how to run and use the Snipping Tool.
1. Open the Snipping Tool
There are several ways to launch the Snipping Tool on a Windows computer:
Method 1: Using the Search Bar
- Click on the Start Menu or press the Windows key.
- Type Snipping Tool in the search bar.
- Click on the Snipping Tool app from the search results to open it.
Method 2: Using Keyboard Shortcuts
For a quicker way to access the tool, use the shortcut:
- Windows + Shift + S – This opens the Snipping Tool directly in screenshot mode, allowing you to select the area you want to capture.
Method 3: Using the Run Command
- Press Windows + R to open the Run dialog box.
- Type snippingtool and press Enter.
- The Snipping Tool will launch immediately.
2. Using the Snipping Tool
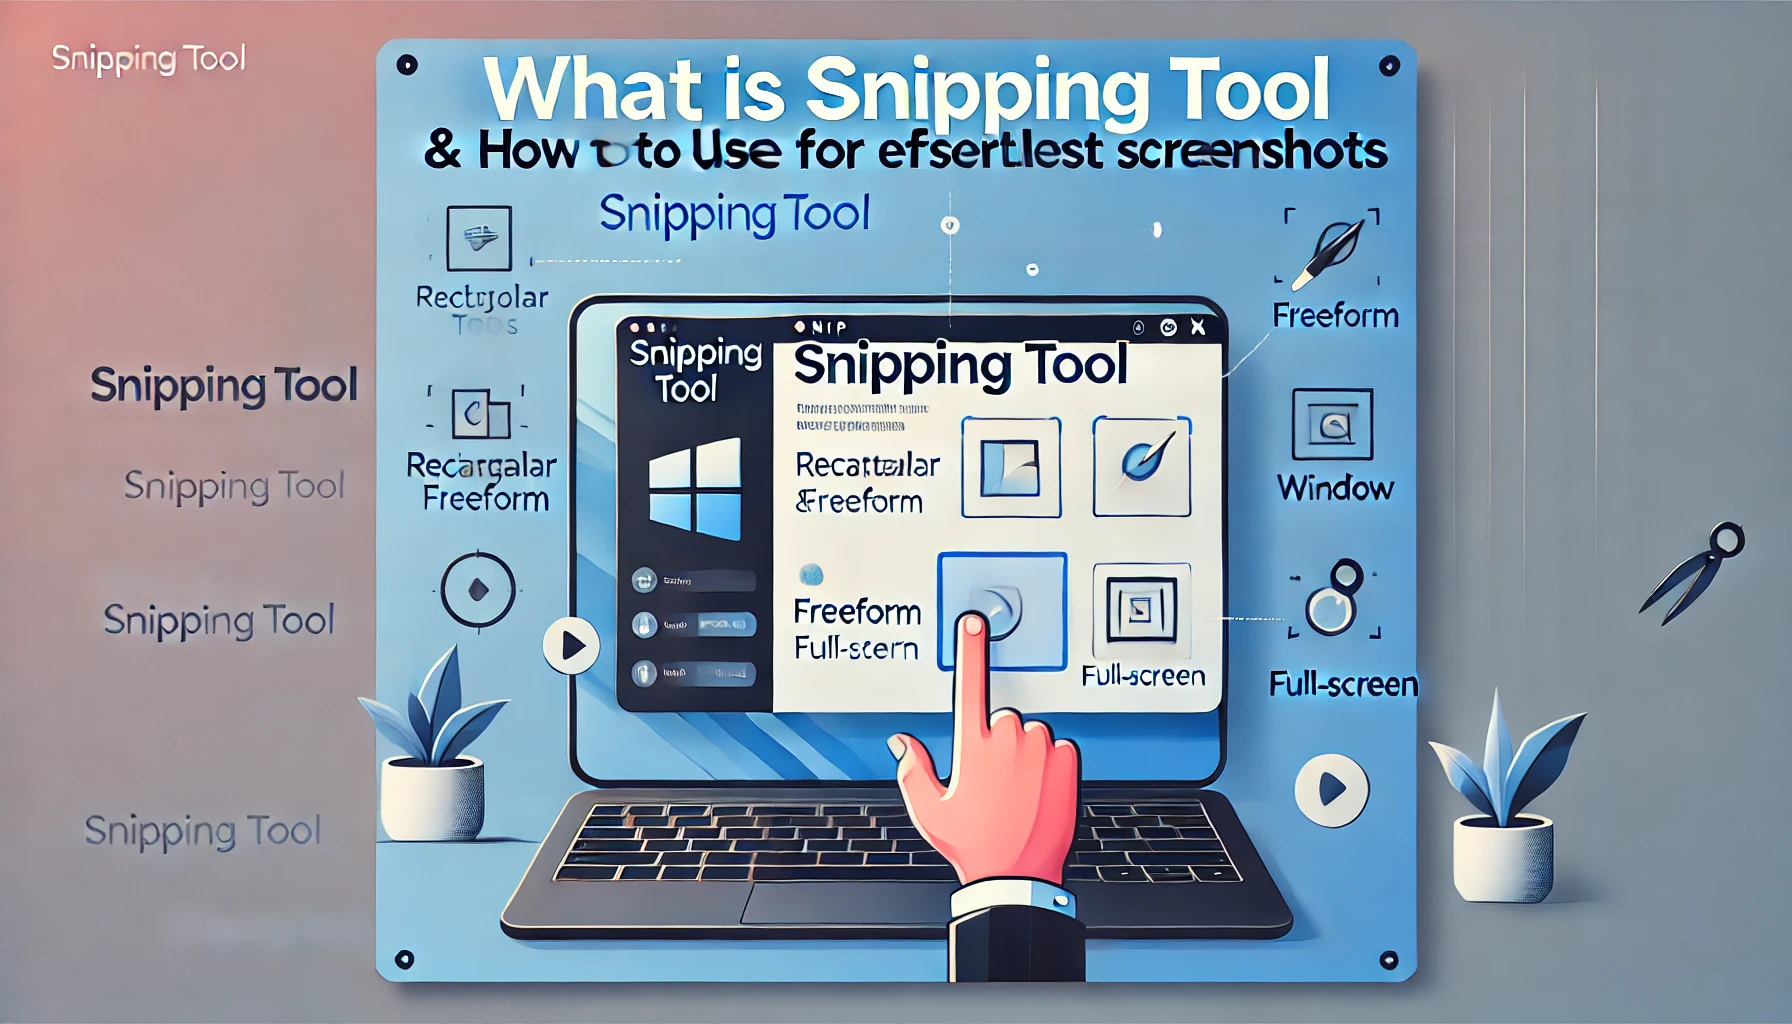
Once the tool is open, you can choose from different snip modes:
- Rectangular Snip – Capture a selected rectangular portion of the screen.
- Freeform Snip – Draw a custom shape around the area you want to capture.
- Window Snip – Capture an open window or dialog box.
- Full-screen Snip – Take a screenshot of the entire screen.
Click on the New button and select the desired area to capture. After capturing, you can annotate, save, or share the screenshot.
3. Alternative Screenshot Methods
If the Snipping Tool isn’t working or you’re facing an internal server error when trying to capture a webpage, you may need to restart your system or use an alternative like Snip & Sketch (Windows 10 and later). Additionally, if you’re using an FTP client and want to save screenshots of settings, knowing what FTP is can help. For Mac users, the equivalent to the Alt key in shortcuts is explained in Mac computer Alt. If you need to take screenshots securely, using a VPN for applications can protect sensitive information.
With these simple methods, running and using the Snipping Tool becomes effortless. Try it out for a seamless screenshot experience!
How to Use the Snipping Tool?
The Snipping Tool is a handy screenshot utility built into Windows, allowing users to capture specific parts of their screen with ease. Whether you need to save an important document, capture an error message, or share a section of your screen, the Snipping Tool provides a simple and effective way to do so. Here’s a step-by-step guide on how to use the Snipping Tool effectively.
1. Open the Snipping Tool
Before using the tool, you need to launch it. Here’s how:
- Click the Start Menu and type Snipping Tool in the search bar, then click on the app.
- Alternatively, press Windows + Shift + S to directly open the snipping mode.
2. Choose a Snip Mode
Once the Snipping Tool is open, click on the Mode button (or the dropdown menu in older versions) to select from the following snip types:
- Rectangular Snip – Captures a selected rectangular area.
- Freeform Snip – Lets you draw a custom shape around what you want to capture.
- Window Snip – Captures an open window or dialog box.
- Full-screen Snip – Takes a screenshot of the entire screen.
3. Capture a Screenshot
- Click on New (or press Windows + Shift + S if using Snip & Sketch).
- Select the area of the screen you want to capture using the chosen snip mode.
- Once captured, the image will open in the Snipping Tool editor.
4. Annotate and Save the Screenshot
After capturing the screenshot, you can annotate it using the Pen, Highlighter, or Eraser tools. If you need to add notes or highlight important details, these tools are useful.
- Click File > Save As to save your screenshot in PNG, JPG, or GIF format.
- You can also click Copy to paste the screenshot directly into an email, document, or chat.
5. Troubleshooting Issues
If the Snipping Tool is not working, try restarting your computer or checking for Windows updates. Sometimes, you may experience errors while trying to take a screenshot, such as an internal server error meaning when capturing a webpage. This usually occurs due to website issues rather than the Snipping Tool itself. In such cases, refreshing the page or using a different screenshot method may help.
By following these steps, you can efficiently use the Snipping Tool for all your screenshot needs. Whether for work, troubleshooting, or sharing visuals, this tool makes the process quick and effortless!
How to Edit Pictures with the Snipping Tool?
The Snipping Tool is not just a screenshot utility—it also offers basic editing features to enhance your captured images. Once you take a screenshot, you can use the built-in tools to highlight important details, add annotations, and make quick modifications. This makes it a convenient option for users who need to edit pictures without using third-party software. In this guide, we’ll walk you through how to edit pictures using the Snipping Tool.
1. Capture or Open an Image in the Snipping Tool
Before editing, you need to capture an image or open an existing one:
- To take a new screenshot, open the Snipping Tool, click New, and select the area you want to capture.
- To open an existing image, locate the file on your computer, right-click it, and select Open with > Snipping Tool (in some Windows versions, editing existing images may require Snip & Sketch).
2. Use the Editing Tools
Once your image is loaded in the Snipping Tool, you can use these built-in editing options:
- Pen Tool – Draw directly on the image using freehand strokes to highlight key areas.
- Highlighter Tool – Emphasize important text or sections by applying a semi-transparent highlight.
- Eraser Tool – Remove any unwanted markings made with the Pen or Highlighter.
For more precision, you can customize the pen color and thickness to suit your needs.
3. Save and Share the Edited Image
Once you’ve made the necessary edits:
- Click File > Save As and choose a format like PNG, JPG, or GIF.
- Use Copy to paste the edited image into documents, emails, or chat messages.
- Click Share (available in some versions) to send the image directly through messaging apps or cloud services.
4. Troubleshooting Issues While Editing
If the Snipping Tool doesn’t save your edits or crashes, try restarting your computer or checking for updates. Sometimes, issues may arise due to system errors. For example, if you encounter an internal server error meaning while trying to edit and save a screenshot of a webpage, it usually indicates a problem with the website rather than your Snipping Tool. In such cases, refreshing the page or using an alternative screenshot method may help.
With its simple yet effective editing features, the Snipping Tool makes it easy to refine screenshots quickly. Whether you need to highlight information or annotate images, this tool is a great built-in option for Windows users!
Snipping Tool Shortcuts
The Snipping Tool is a useful screenshot utility in Windows, and using keyboard shortcuts can make capturing and editing images even faster. Instead of manually opening the tool and selecting options, you can take screenshots instantly using shortcut keys. Whether you’re a professional working on documents or troubleshooting issues, knowing these shortcuts can save time and effort.
In this guide, we’ll explore essential Snipping Tool shortcuts and how they improve your workflow. Additionally, we’ll cover related topics such as internal server error meaning, what are FTP, Mac computer Alt, and VPN for applications to enhance your understanding of digital tools.
1. Essential Snipping Tool Shortcuts
Here are some must-know shortcuts for using the Snipping Tool efficiently:
| Shortcut | Function |
| Windows + Shift + S | Opens the Snipping Tool in snipping mode to capture a screenshot instantly. |
| Ctrl + N | Starts a new snip. |
| Ctrl + S | Saves the captured screenshot. |
| Ctrl + C | Copies the screenshot to the clipboard for easy pasting. |
| Ctrl + P | Prints the captured image. |
| Alt + M | Allows switching between snipping modes (Rectangular, Freeform, Window, or Full-screen). |
| Alt + D | Delays the screenshot by 1–5 seconds for capturing pop-up menus. |
| Esc | Cancels the screenshot or snipping action. |
2. Alternative Screenshot Shortcuts
If you’re using Windows but want more options, try these alternatives:
- PrtScn (Print Screen) – Captures the entire screen and copies it to the clipboard.
- Alt + PrtScn – Captures only the active window.
- Windows + PrtScn – Saves the full-screen screenshot automatically to the “Pictures > Screenshots” folder.
For Mac users looking for a Mac computer Alt equivalent in screenshot shortcuts:
- Command + Shift + 4 – Allows you to select a specific area for capture.
- Command + Shift + 3 – Captures the entire screen.
3. Troubleshooting Issues While Taking Screenshots
Sometimes, you may encounter an internal server error meaning while trying to capture a webpage. This is usually a website-side issue and not related to the Snipping Tool. In such cases, try refreshing the page or using another screenshot method.
If you frequently need to capture settings from an online server, understanding what are FTP (File Transfer Protocol) is can help with file management. Also, if you’re working on confidential applications, using a VPN for applications ensures your screenshots and online activities remain secure.
By mastering these shortcuts, you can take and edit screenshots effortlessly, improving your productivity with the Snipping Tool!
Conclusion
The Snipping Tool is an critical function in Windows, permitting users to take, edit, and keep screenshots resultseasily. Whether you are capturing a complete display, a specific window, or a custom selection, this tool presents a short and efficient way to manage screenshots. By the usage of shortcuts like Windows + Shift + S, you could streamline the system and save valuable time.
For the ones working throughout one of a kind systems, knowledge alternatives is critical. If you are the usage of a Mac and seeking out the Mac laptop Alt key equal, shortcuts like Command + Shift + 4 offer similar functionality. Additionally, if you’re handling net-primarily based packages and want secure get right of entry to, the usage of a VPN for packages can help shield your facts.
While shooting web pages, you would possibly every now and then run into an internal server error which means message. This usually indicates a problem on the website’s end rather than an issue together with your Snipping Tool. If you’re taking internal server error meaning screenshots of online record transfers, knowing what are FTP (File Transfer Protocol) let you control and switch files efficiently.
By combining these tools and strategies, you can decorate your productivity and troubleshoot problems correctly. Whether you’re using the Snipping Tool for work, documentation, or troubleshooting, studying its shortcuts and opportunity strategies will make your experience smoother. Try incorporating those pointers these days and take complete gain of the Snipping Tool’s abilities!
By combining these tools and techniques, you can enhance your productivity and troubleshoot issues more effectively. Whether you’re using the Snipping Tool for work, documentation, or troubleshooting, mastering its shortcuts and alternative internal server error meaning methods will make your experience smoother. Try incorporating these tips today and take full advantage of the Snipping Tool’s capabilities!
Leave a Reply